Setting up a custom email address through Google Workspace (formerly G Suite) is an essential step for any business looking to enhance its professional image.
With Google Workspace, you not only get a custom email that uses with your custom domain but also access to a suite of other powerful tools to help you with your business.
In this guide, we’ll walk you through the process of setting up a custom email with Google Workspace, from connecting your domain to adding your team members.
Prefer to use Outlook for your custom email? Follow our step-by-step guide on setting up a custom email with Microsoft 365 to integrate your email with an Outlook inbox.
Step 1: Complete the Google Workspace setup wizard
To get started, visit Google Workspace and click the Get Started or Start Free Trial button.
This will open the account setup wizard which will walk you through the setup process as it collects some of your information.
First, enter some basic information about your business and then click Next.
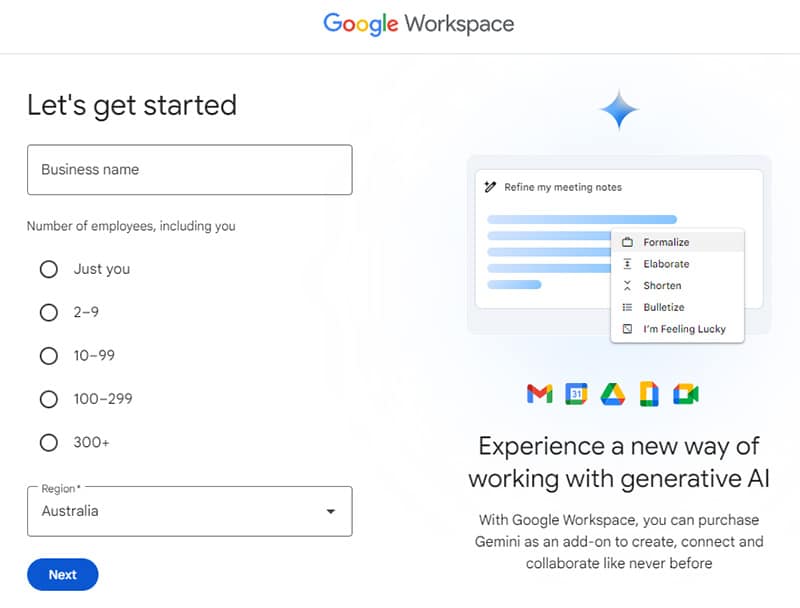
On the next screen you’ll then need to enter your contact information and current email address before clicking Next again.
Then on the next screen it will ask you if you need to purchase a new domain or if you already have an existing one that you’d like to use.
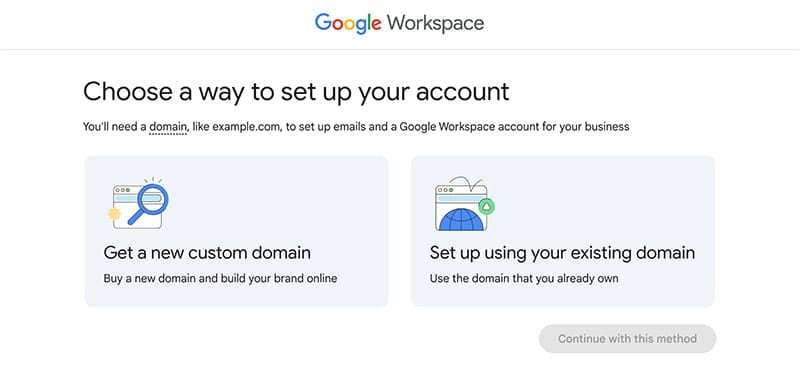
If you choose to purchase a new domain from Google at this stage it will simply ask you to enter it to confirm it’s available before continuing with the remainder of the sign-up process.
If you instead choose to use a domain you already own it will ask you to enter this domain before continuing by clicking Next.
Finally, it will ask you to create your first custom email address. Simply enter your username and password and then click Agree and continue.
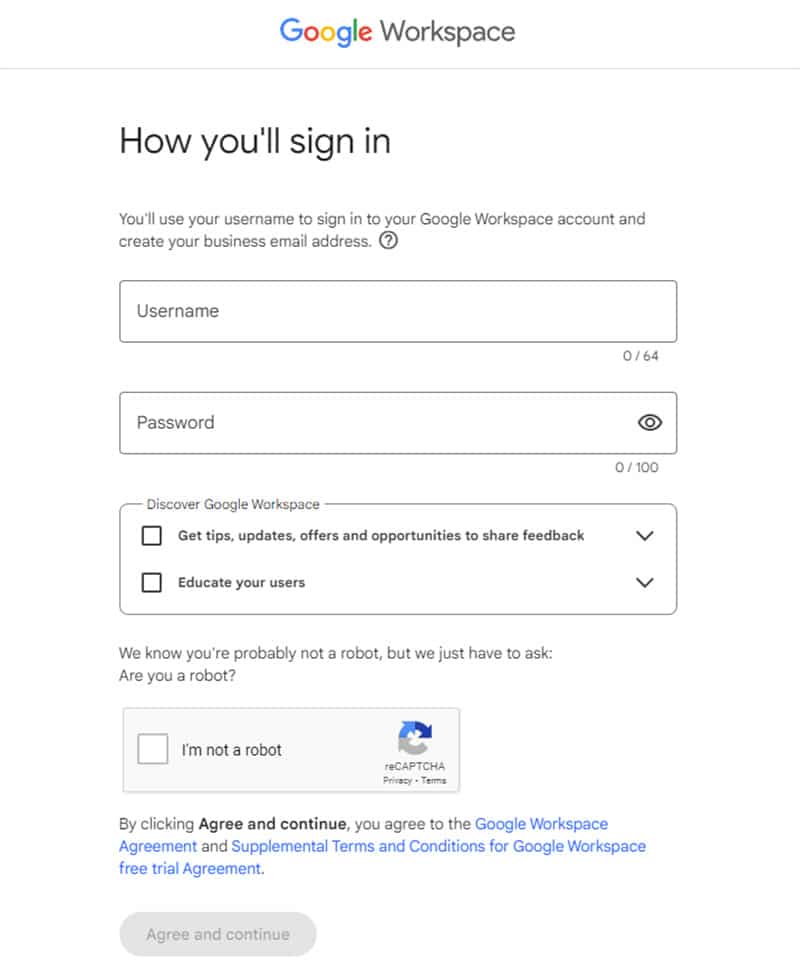
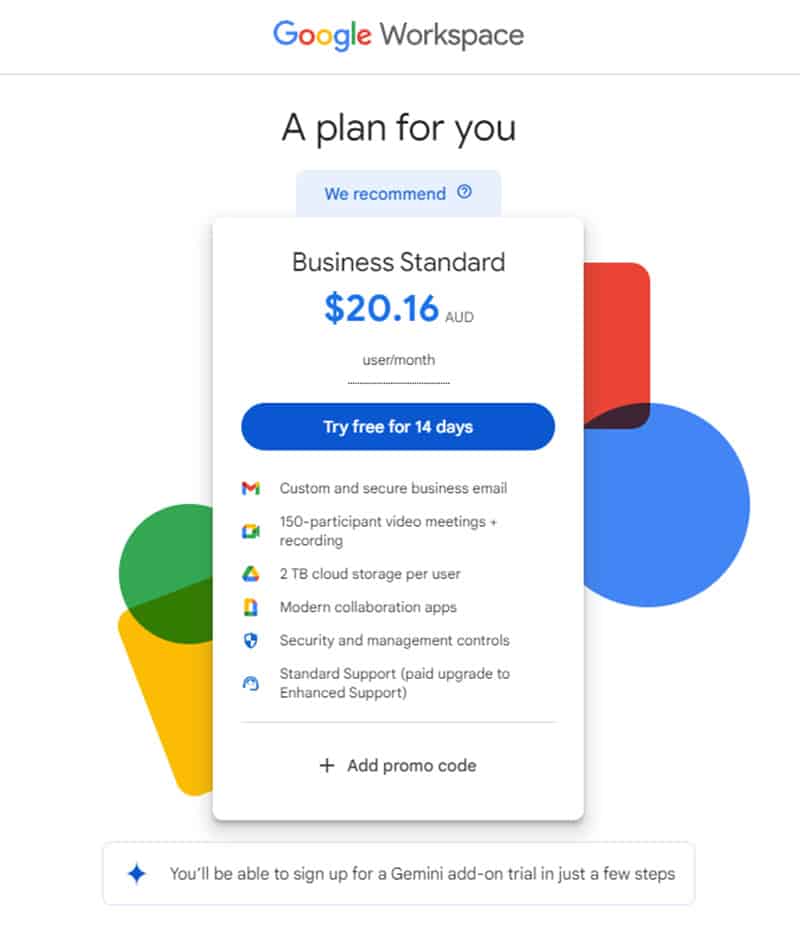
After you’ve created your profile it will suggest a Google Workspace plan for the duration of your trial. Don’t worry, you can always change this later.
After you complete the sign-up process, you’ll see a confirmation page, click Go to Setup.
Step 2: Verify your domain name
Now we’re into a slightly more technical aspect of setting up Google Workspace.
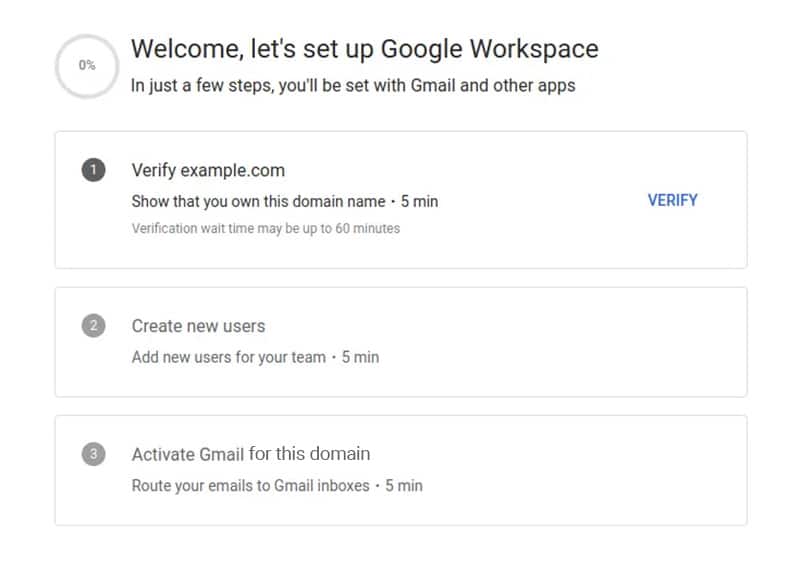
Click the Verify button.
You’ll be asked to add a TXT record to your domain name, this will require you to login to your domain name registrar (GoDaddy, Namecheap, etc.)
Click Continue.
Unfortunately, we can’t provide a guide for every domain name registrar in this post but thankfully Google has already done this.
Search for your domain name registrar instructions here, otherwise try contacting your domain name registrar directly for help adding a TXT record.
Once you’ve added this TXT record to your domain name records return to the verification page and click Verify My Domain.
Stay logged in to your domain name registrar, we’ll need to go back there in Step 4.
Step 3: Create other users (optional)
After verifying your domain name, you have the option to create more users for other team members or departments.
If you only need one user then you can skip to Step 4 below.
Otherwise, click Create then Continue and then Add Another User.
Once you’ve added all the users you need click Continue.
The difference between a new user and an email alias is that the latter is attached to an existing inbox.
For example, if you create support@domain.com as an alias of contact@domain.com then all the emails you receive will go into the one combined inbox.
The benefit of aliases is that you can add as many as you want for free, new users cost extra.
Step 4: Add MX records to your domain name
Finally, we need to add an MX record to our domain name settings.
If you’re signing up after April 2023, you’ll only need to add one MX record to the DNS settings of the domain you’re using for your new email address:
| Name / Host / Alias * | Priority | Value / Answer / Destination |
| Blank or @ | 1 | SMTP.GOOGLE.COM |
* Domain hosts use different labels for the name and value fields. Some hosts also require a period at the end of smtp.google.com.
Need help adding an MX record to your domain? Google has provided instructions for all major domain name registrars here, otherwise try contacting your domain name registrar directly.
Did you create your Google Workspace account before April 2023? You’ll need to add 5 MX records that you can find on Google’s site here.
After you’ve updating your domain MX records, return to the Google Workspace sign-up page and click Activate Gmail.

You’re Good To Go!
Now that you’re all setup you get access to the Google Workspace Admin Console with your 14-day free trial.
Don’t forget to setup and add your billing details before your trial expires so you don’t experience any interruption in service.
Now that you’ve got a Google Workspace custom email you may want to look into creating a Google Business Profile listing to improve your local SEO and to allow your customers to easily find you on Google Search & Maps.
Find out how you can quickly setup a Google Business Profile listing (formerly Google My Business).
If you have any other questions about Google Workspace or custom email addresses please don’t hesitate to reach out to our Brisbane web design agency.
To your success,
Jackson


