
But if you are finding the process to be a little difficult and confusing, the team here at White Peak Digital are here to help. That’s why we’ve put together this informative guide to help you understand more about what exactly a WordPress multisite is, and how to run one.
Keep reading to see how we can help you create your own multisite in no time!
What Is A WordPress Multisite?
A WordPress Multisite is a way of gathering and running all your website from one network. The number of websites that you can run off one WordPress multisite is unlimited, meaning you could link hundreds, if not thousands of sites.
It has been designed to allow you to simplify the way you run your business. You can create new websites to add to your multisite, as well as being able to link an existing WordPress website too.
There are some key differences between a single WordPress installation and a multisite which allow you to distinguish between the two.
For example, on a single network, the highest level of access is known as ‘administrator’. On a multisite, however, the highest level is known as ‘super administrator’ as that person is able to access all the websites that exist on the network.
Benefits Of A Multisite
Of course, when WordPress created the multisite feature back in 2020, they knew that it would have many benefits that would be of great use to many website owners.
Even though each website in the network is separate, they all share the same database, plugins, themes and installation.
This is ideal for many different applications and environments including schools, businesses, blog websites as well as for those who are self-employed.
Development efficiency
A WordPress multisite network can very much enhance the efficiency of website development. Because all your sites are under one single hosting account, it is much easier to develop new sites under the same network as they will share the original URL.
For example, you could activate a parent theme as a base for all the other website themes within your network. Once you have decided on a base theme (or parent theme) you can use it to differentiate the style for each of your websites within the multisite.
Also known as developing child themes, this not only saves you time but also means that you can link your business’ websites together by displaying similar content from the parent theme within each one.
More efficient coding
Coding is time-consuming and can also take up a lot of storage space, which is not ideal for anyone. By setting up and linking numerous sites to a multisite network, you can save make the coding process much more efficient.
A there is only one set of core files and one copy of each theme and plugin, you can use the existing WordPress site code as a base for a new site. This ultimately means that you can save money in the long run, and your multisite network will take up less server space than if they were each their own sites.
Easier to manage
For a network admin, managing one WordPress multisite is much easier and simpler than having to manage sites on their own. This means that when it comes to upgrading and keeping your coding, server networks, themes and plugins all up to date, the process is much faster.
Or if you need to change the network settings across multiple WordPress websites, the workload on the site admin becomes much lighter. Pressing one button manages all the updates across the entire network with one ‘master’ install.
Drawbacks Of A Multisite
As with anything, a multisite network also comes with its own set of drawbacks. There are some disadvantages that you should keep in mind before setting up a multisite network, which we outline below.
Greater security risk
When you set up WordPress multisite, you need to be aware that it does come with a greater security risk than individual sites.
This means that in the unfortunate event that one website in your network gets hacked, all the others will get hacked too.
The same principle applies to the network settings too. If a few, or even just one of your network resources go down, it will cause all the websites within your network setup to go down too.
To overcome this, you will need to mitigate the security risk by implementing some key processes. These could include using a categorisation guide to organise risk levels as well as making a list of the minimum conditions of security procedures and policies.

Plugin incompatibility
Another risk that comes with setting up a WordPress multisite network is that some plugins may be incompatible.
When it comes to plugins, most of them are developed for a single site so when they are installed onto a multisite network they may cause problems. And aside from the fact that not every WordPress plugin works on all the sites, once a network admin deletes a plugin it also gets deleted from all the network settings meaning you cannot use a certain plugin on just one site.
How To Set Up a Multisite
Setting up a multisite may seem like a confusing and complex process, however that couldn’t be further from the truth. Once you understand what you are doing (and follow our steps below) you’ll have your new WordPress multisite network up and running in no time.
Choose a domain structure
One thing you will need to decide before starting is whether you want to use subdomains or subdirectories. This impacts your URLs and can also be affected if you have an existing WordPress installation.
- Subdomains: This option is where each site within your network will have a URL that looks like this: 1234.abcdef.com where ‘1234’ is your new individual site and ‘abcdef’ is the original domain name of your network. It is important to note that if you want your site admins to create individual URLs for the sites, you will need to activate wildcard subdomains when hosting.
- Subdirectories: If you opt for this option, the URLs of your websites will look a little different in the sense of abcdef.com/1234 where again ‘1234’ is your new individual site and ‘abcdef’ is the original domain name of your network.
Set up your WordPress multisite network
So now that you have decided on your domain structure, it’s time to begin setting up your multisite network. Follow the step by step guide outlined below to get a perfect WordPress installation.
- Firstly, you will need to find both files called
.htaccessandwp-config.php. These will make up the base of your multisite so it may be a good idea to back them up you know, just in case. - Next, open up the wp-config.php file and right above the last line where it should read
/* That’s all, stop editing! Happy blogging. */paste the following line:define( ‘WP_ALLOW_MULTISITE’, true ); - Save your newly edited file.
- Now you will need to log onto your site admin site, WordPress, and go to Plugins then Installed Plugins.
- Deactivate all your plugins. You can do this manually by clicking each one individually, or selecting them all and doing it in one go.
- Now go to Tools then click on Network Setup. It will prompt you to choose which domain structure you want either subdomains or subdirectories.
- Choose your preferred option.
- Now you will need to enter a title for your multisite network as well as an admin email address.
- Click Install.
Now that you have set up multisite, you have to configure two settings in the Network Setup screen to enable and install it.
- After clicking install, you will be taken to the network set up screen that will have code.
- Copy and paste the code on this screen into your two files (
.htaccessandwp-config.php). Make sure to overwrite anything that the screen tells you to. - Save both the files.
- Close your tabs and then go back to your network site and log in using the same information that you used before.
And that’s it! You have successfully installed and enabled your new WordPress multisite network.
You will find that your WordPress site admin page has changed a little with new tabs including My Sites, Dashboard and Network Admin now available.
Add new sites to your WordPress Network
Now that your WordPress installation is complete, you can start thinking about adding new sites to your network. Just follow the simple steps outlined below to link as many websites as you want together.
- First, you will need to go to My Sites then click on Network Admin then on Sites, then click “Add New”.
- A pop up will appear where you will need to add in your new site address (URL), site title, site language and your admin email.
- Finally, just click on the Add Site button to complete the process.
You should find that your newly added site appears on your dashboard when you click on All Sites. here you can see every existing site that you have on your network.
Adding themes and plugins
The ability to add themes and plugins to your network can only be done if you have access as a super administrator (also known as a network admin). You can add a network admin via the site settings, but for now, let’s cover how to add themes and plugins.
You can install themes onto all the sites in your network, or add a certain theme onto an individual site. Plugins, on the other hand, do not work in the same way. You can only install a plugin on the entirety of your network across all sites, not on individual ones.
To install a theme:
- First, go to My Sites then Network Admin then click on Themes.
- You will want to press on Add New and then Upload Theme.
- You can now upload your own theme, or search for an option that takes your fancy on the “Add Themes” page.
- Once you have decided on a theme click on the Installing Theme screen and then on Network Enable to get the theme ready to use on any website within your network.
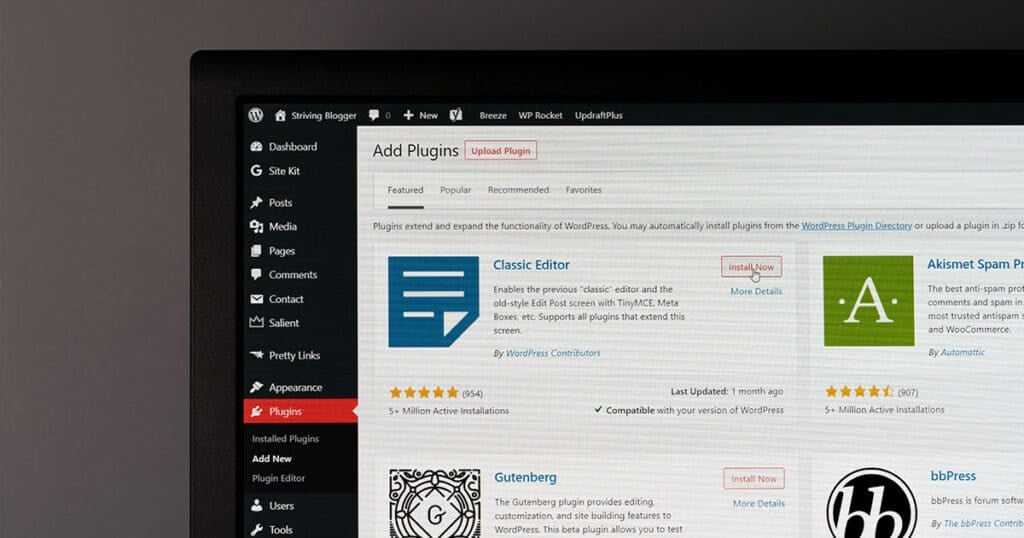
To activate a plugin:
- First click on My Sites then go to Network Admin and click on Plugins.
- Now press on Add New and install your chosen plugin, just like you would before activating multisite.
- When the Installing Plugin screen comes up, click on Network Activate.
Just like that, the plugin will now run through the multiple sites of your network.

Final Thoughts
We hope that you have found our guide to be helpful. Creating a website for your business is an exciting and unique process, but linking them together to create a multisite network is a straightforward process that everyone can use.
Here at White Peak Digital, our goal is to provide you with all the services and information you need to reach your dream website goals. Our skilled team have years of experience in WordPress website development – so if you want your website to stand out amongst the crowd, we’re the company you should contact!
FAQs
How do I set up a multisite subdomain in WordPress?
You can set up a multisite subdomain in WordPress by following the steps in the process we have outlined above in our guide. It’s that simple!
How does a WordPress multisite work?
Multisite is a branch of WordPress that allows you to join together many sites (hundreds of thousands) under the same network.
It works by using site settings and domain mapping to create a single dashboard from which you can view, manage and edit all your websites.
Can WordPress themes be on multiple websites?
Yes, they can. You can apply one theme across multiple sites within your network with a few clicks.
Just be aware that if you decide to change or delete the theme, it will also impact the other websites within your network too.
To your success,
Jackson


